Dispatch a Load
Before you learn how to dispatch a load, we recommend reading "How to Create a Load", "How to Create a Trip", "How to Send Load/Trip Data via Email" and "Load Life Cycle".
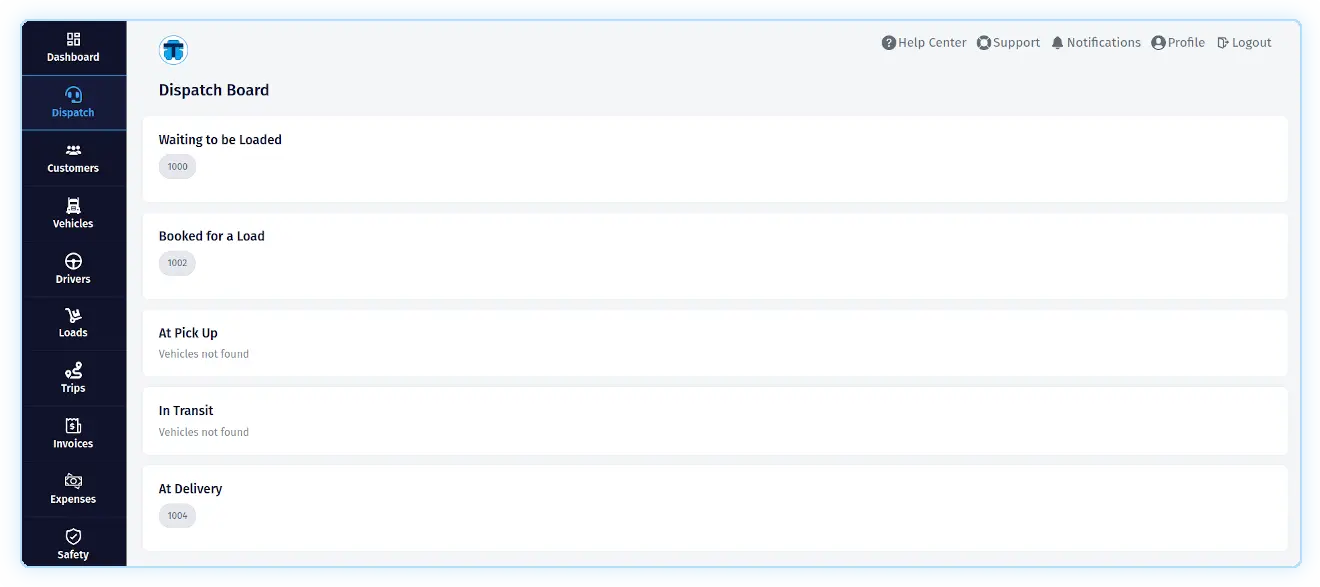
After you have agreed to the transportation rates, taken the load from the customer/broker, created a load, assigned it to a trip, and sent the load/trip data to the driver, you can go to the "Dispatch Board". To go to the "Dispatch Board", you need to click on the "Dispatch" link in the main menu on the left side of the page.
The dispatch board consists of several sections, each of which will include an icon with the unit name of the truck at a certain stage of load transportation. So during a load transportation, such icons will move from section to section. For them to move like this, you need to get information from the driver about the current stage of load transportation and set the corresponding status in the trip record (In the future, this process is planned to be automated using the driver's application, where he will do this in one click).
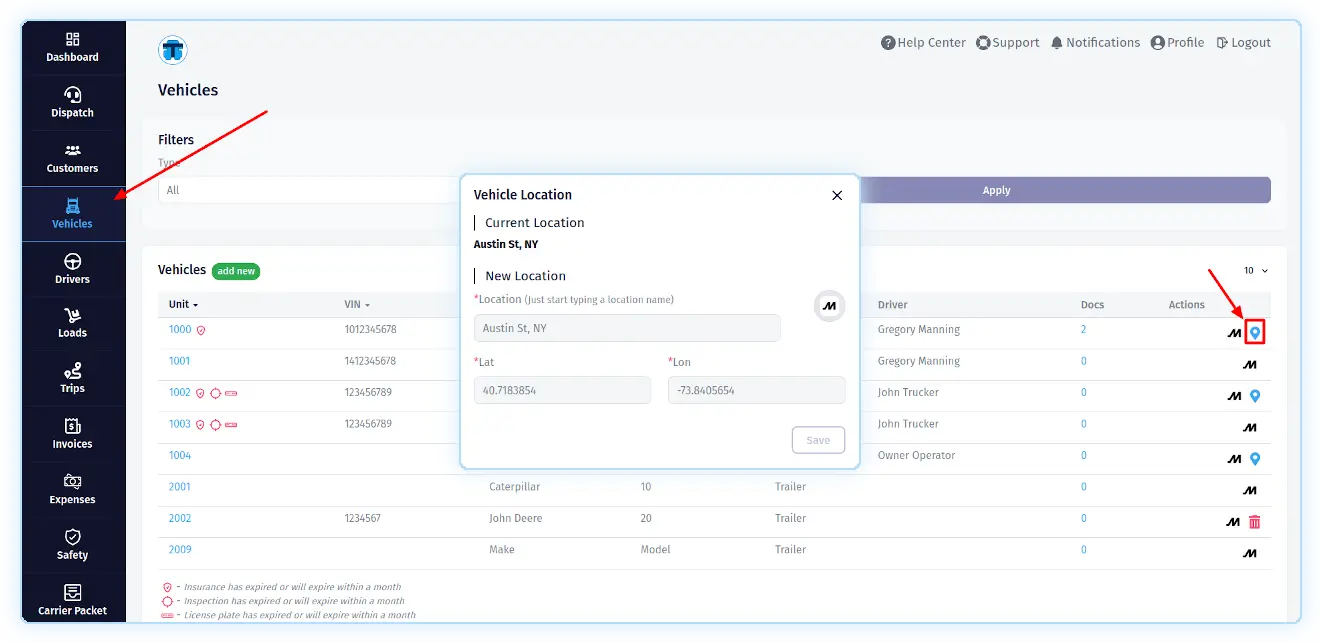
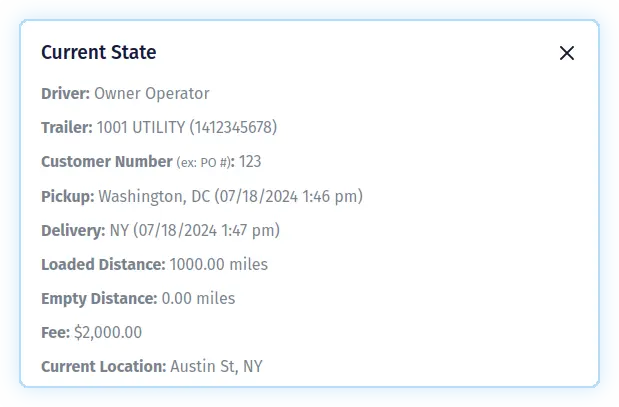
By clicking on such an icon, you will see a pop-up with full information about the load, trip, driver, trailer, current location, etc. The current location can be set manually by clicking on the "Current Location" icon of the corresponding truck on the vehicle listing page. Another way to get the truck's current location is to enable the integration with ELD (At the time of writing this guide, one integration is available "Motive ELD"). After the load is delivered and the driver has sent you "POD", do not forget to add it to the documents of this load. See "Load Documents".